...Return To Mine & Other Bonneville Car Construction Pages
.Previous Page...............B'ville Car Index Page.........................Next Page
............ Rear Spring & Shock Mounting - Part III
.........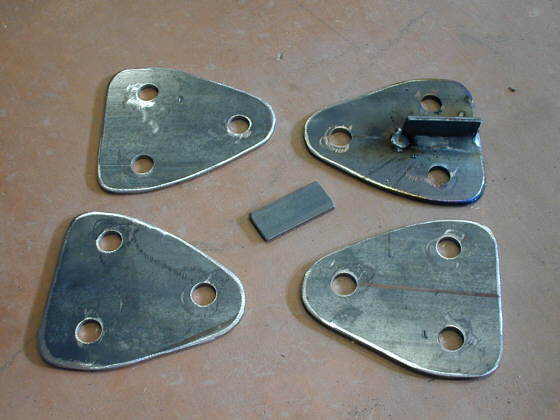
To finish up the rear suspension (spring part of it) I needed to finish the spring holder assemble on the in-board chassis side. I started by making these 4 brackets (2 for each side of the car) that will mount to the frame in a vertical row of holes that will allow for adjustments in spring rates with the same spring.
......................... .
.
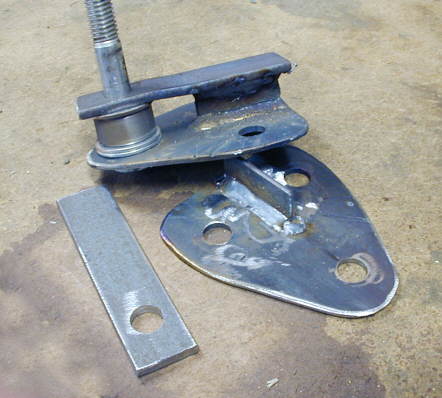
I wanted the pull on this piece to be in double shear, so I added a couple pieces to the basic bracket. I have the bushing with a couple spacer washers mounted during the welding process to keep the holes in alignment.
...................... .
.
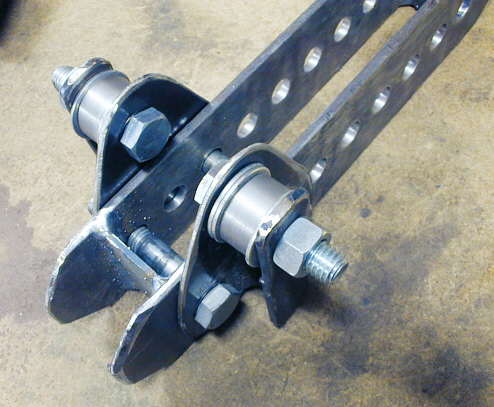
Here the above pieces are trial mounted to what will become part of the frame.
................................. .
.
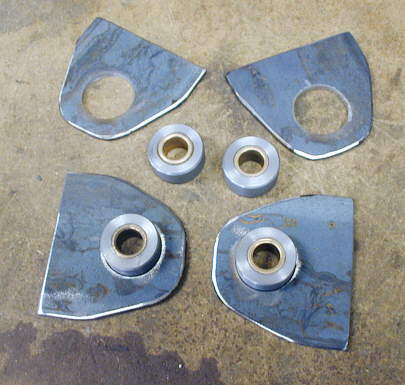
To finish this off I had to make the part the "jack bolt" nut would mount to. These pieces are the start of that. The bushings will be welded into these pieces of flat strap. This will allow the finished part to rotate on the pieces above as the suspension moves. I made the bushings on the lathe and the centers are bushings I got from the hardware store and cut to length.
............. .
.
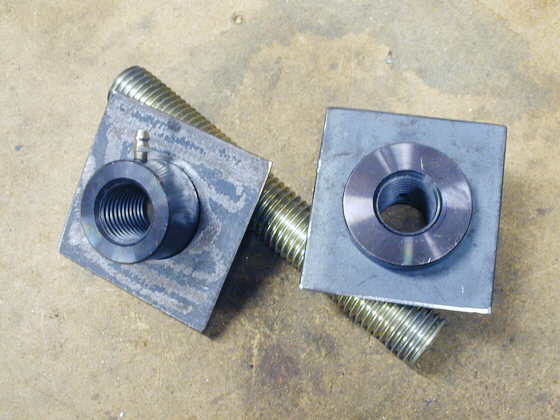
Here I have made two pieces that the "jack bolt" nuts will be welded to. I drilled the holes to 1 inch with the mill and then had to bore them out the rest of the way to final size.
............................ .
.
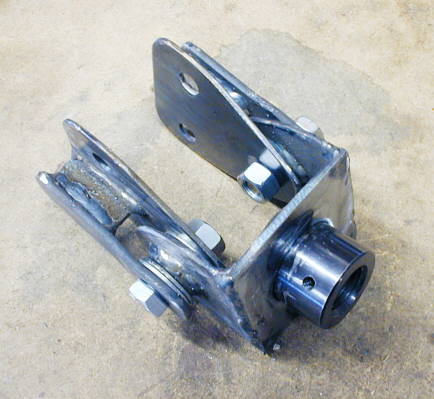
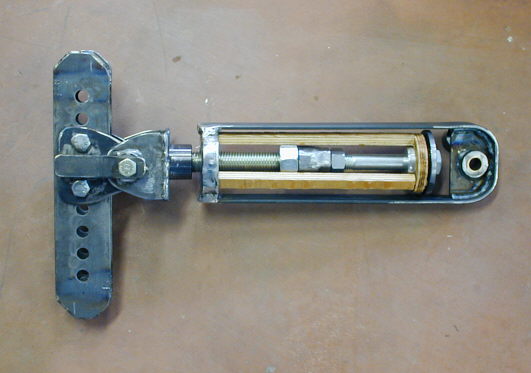
The piece with the "jack bolt" nut was then welded to the two previous pieces with the bushings in them. Here you can see how all these parts go together.
................ .
.
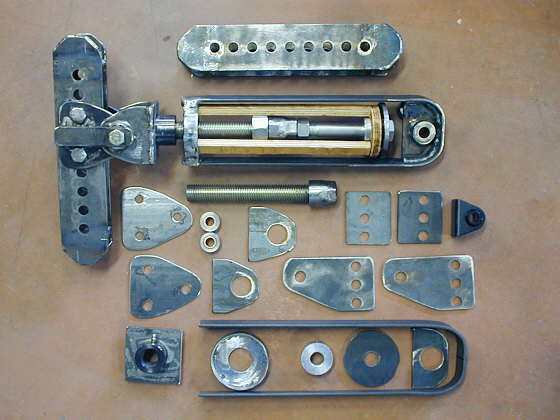
The finished left side of the spring assembly mounted to the future frame piece. Remember the plywood in there represents the 10 inch coil spring at it's uncompressed free length. I did this to make sure I could get all this assembled and apart on the finish car if I want to change springs. Once the spring compresses the jack bolt will be use to pull on the spring and bring the car to ride height. At least that is the plan!!
............. .
.
A picture of a completed spring assembly (minus the lever arm side) and all of the parts that I made to complete it. As I was making the one I was making duplicate parts for the other side at the same time. I didn't weld them up until I liked what I saw.
.............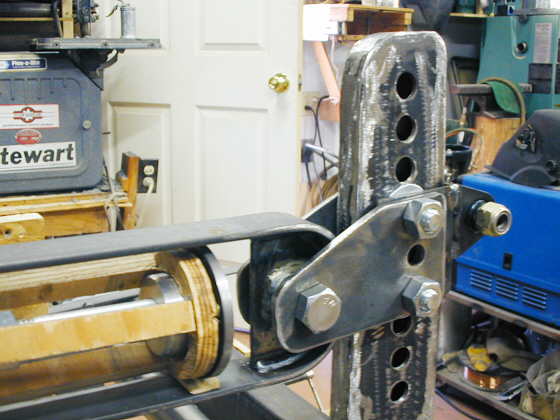 .
.
The lever arm side of the spring assembly........
.............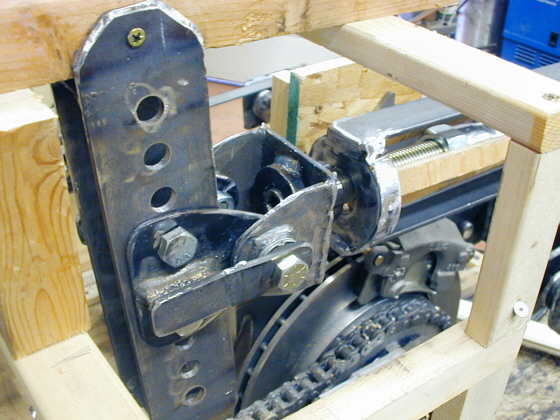 .
.
........and the chassis side of the spring assembly.
.............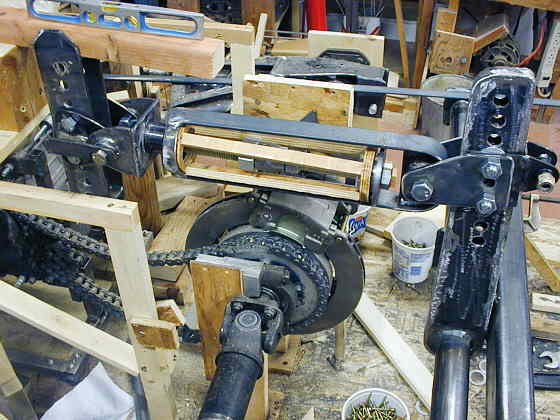 .
.
An overall view.
.............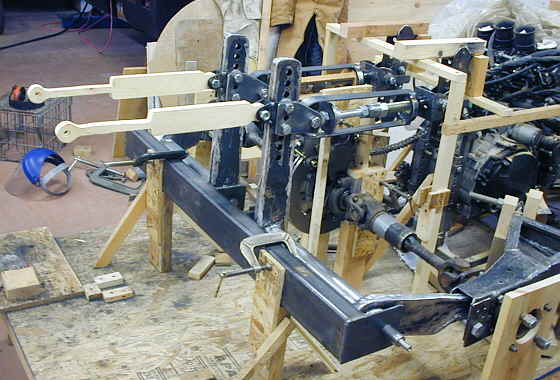 .
.
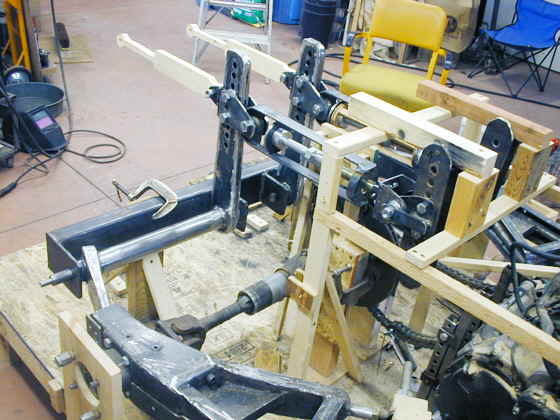
It only took a couple days to duplicate the left side of the suspension for the right side of the car. I also made a couple wooden mockup shocks at the anticipated installation length. They will mount to a vertical frame member with adjustment holes in it. That will be the extreme rear of the car except for the parachute tubes that will extend about 1 more foot past the back of the shocks.
............. .
.
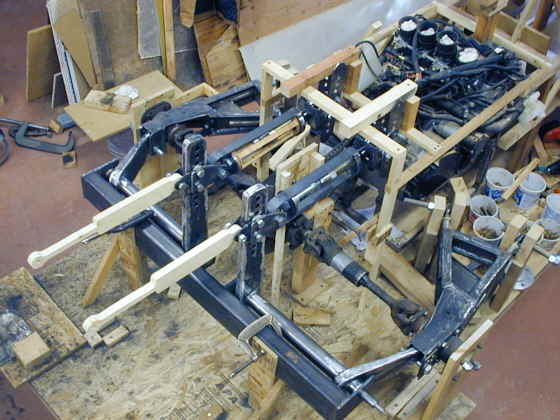
Even though I have the shocks and springs mounted opposite each other in these pictures either one will be able to be mounted at any height vertically on the lever arm and the frame independently of each other.
............. .
.
At the upper right corner of this picture you can see the back of the motorcycle motor/trans. This along with the cage will be the widest part of the car from there back to the rear of the chute tubes behind the shocks the car will be tapering in. At the rear of the shocks it will be about 12 inches wide.
.............. .
.
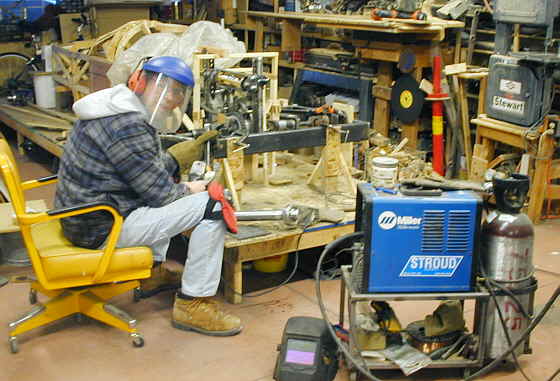
Just a tip. If you are getting old like me and don't have a chair like this, get one. I do almost all of my grinding and welding sitting in it using the edge of the platform as a workbench. It sure beats standing at the work bench or working on the floor. I can easily roll to different positions to pick items up or to weld from a different angle.
I'm really happy to bring the suspension at the rear of the car to a close. Next I'm going to turn the wood cage into a metal one and then start from the back of the cage rearward with the rear part of the frame. It will support the motor, suspension, etc..
..................................................................Next Page